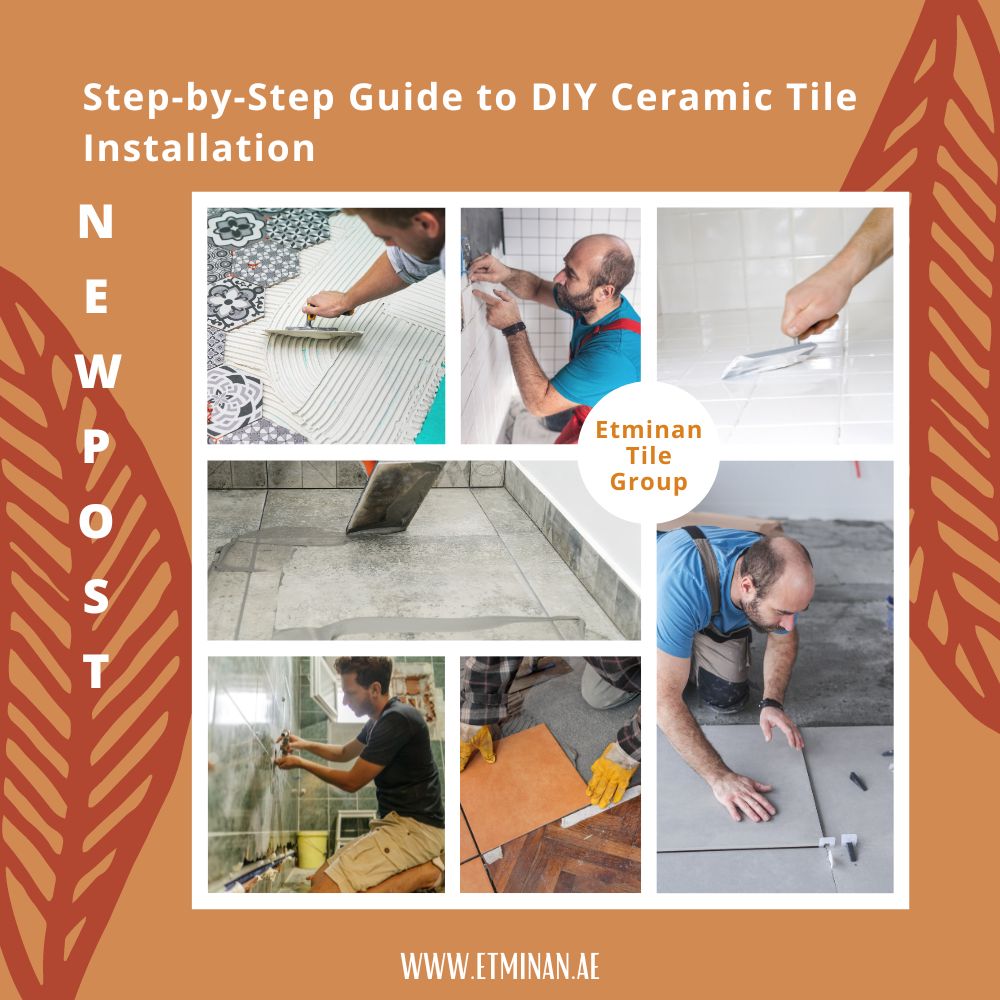
Introduction
Are you looking to enhance the beauty and functionality of your home with a DIY project? Installing ceramic tiles can be a rewarding and cost-effective way to transform your space. With the right tools, materials, and a bit of patience, you can achieve a professional-looking ceramic tile installation that will impress your friends and family. In this step-by-step guide, we’ll walk you through the process of DIY ceramic tile installation, ensuring that you achieve stunning results that will stand the test of time.
Table of Contents
- Choosing the Right Ceramic Tiles
- Measuring and Calculating the Quantity of Tiles Needed
- Gathering the Necessary Tools and Materials
- Preparing the Surface
- Laying Out the Tiles
- Mixing and Applying Mortar
- Placing the Tiles
- Cutting Tiles to Fit
- Grouting the Tiles
- Cleaning and Sealing
- Caring for Your Newly Installed Ceramic Tiles

1. Choosing the Right Ceramic Tiles
When embarking on a ceramic tile installation project, it’s essential to choose tiles that suit your style and preferences. Consider the size, color, texture, and pattern of the tiles to ensure they align with the aesthetics of your space. Additionally, make sure the tiles are suitable for the area you plan to install them. For instance, some tiles are better suited for floors, while others are more appropriate for walls or backsplashes.
2. Measuring and Calculating the Quantity of Tiles Needed
Accurate measurements are crucial for a successful tile installation. Measure the length and width of the area you want to tile and multiply these dimensions to find the square footage. Remember to account for any cutouts or irregularities in the area. It’s advisable to purchase around 5-10% more tiles than your calculations to accommodate potential breakages and future repairs.
3. Gathering the Necessary Tools and Materials
To ensure a smooth and efficient installation process, gather all the essential tools and materials before starting. Some of the key items you’ll need include a notched trowel, tile spacers, a tile cutter, a level, and a rubber mallet. Don’t forget to have safety equipment such as gloves and goggles on hand.
4. Preparing the Surface
Proper surface preparation is critical for the longevity of your tile installation. Clean the surface thoroughly and repair any cracks or imperfections. If you’re tiling over an existing surface, ensure it’s stable and free from debris. Applying a primer can enhance the adhesion of the tiles to the surface.
5. Laying Out the Tiles
Before applying mortar, plan the layout of your tiles. Start at the center of the room or focal point and work your way out. Use a chalk line or tile spacers to maintain straight lines and equal spacing between tiles.
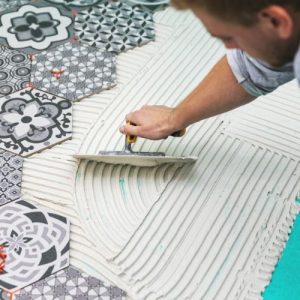
6. Mixing and Applying Mortar
Follow the manufacturer’s instructions to mix the mortar to the right consistency. Using a notched trowel, apply the mortar evenly on a small area of the surface, following your layout lines. Work in manageable sections to ensure the mortar doesn’t dry out before laying the tiles.

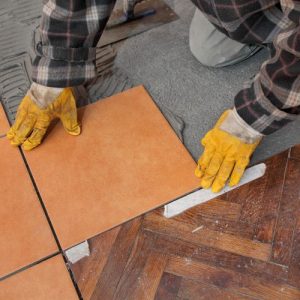
7. Placing the Tiles
Carefully press each tile into the mortar, making sure it’s level and aligned with the surrounding tiles. Use a rubber mallet to gently tap the tiles into place. Continue this process until all the full tiles are laid.
8. Cutting Tiles to Fit
Inevitably, you’ll encounter areas where full tiles won’t fit. Measure and mark the tiles that require cutting. Use a tile cutter or a wet saw to make precise cuts. Take your time and wear protective gear when cutting tiles.
9. Grouting the Tiles
Once the tiles are set and the mortar has cured, it’s time to grout the joints. Choose a grout color that complements your tiles. Apply the grout using a grout float, ensuring all the joints are filled. Wipe away excess grout with a damp sponge and allow it to dry.
10. Cleaning and Sealing
After the grout has dried, clean the tiles with a tile cleaner to remove any grout residue or haze. Once the tiles are clean and dry, apply a tile sealer to protect the surface from stains and spills. Follow the manufacturer’s instructions for the appropriate application method and drying time.
11. Caring for Your Newly Installed Ceramic Tiles
Congratulations on successfully installing your ceramic tiles! To keep them looking their best, follow these care tips:
- Regularly sweep or vacuum the tiles to remove dirt and debris.
- Clean spills promptly to prevent stains.
- Avoid using harsh chemicals or abrasive cleaners that can damage the tiles.
- Place felt pads under furniture legs to prevent scratching.
- Periodically reseal the tiles to maintain their protective layer.
Conclusion
With this step-by-step guide, you now have the knowledge and confidence to tackle a DIY ceramic tile installation project. Remember to plan carefully, gather the right tools and materials, and follow each step diligently. By investing time and effort, you can create a beautiful and durable tile installation that adds value to your home. Enjoy the satisfaction of a job well done!

FAQs
1. Can I install ceramic tiles over an existing floor? Yes, you can install ceramic tiles over an existing floor. However, ensure that the surface is clean, stable, and free from imperfections before proceeding with the installation.
2. Do I need special tools to cut ceramic tiles? Yes, you will need special tools such as a tile cutter or a wet saw to make accurate cuts on ceramic tiles. These tools ensure clean and precise cuts.
3. How long does it take for the tile mortar to dry? The drying time for tile mortar varies depending on factors such as humidity and temperature. Generally, it takes around 24-48 hours for the mortar to dry completely.
4. Can I install ceramic tiles in a bathroom? Yes, ceramic tiles are a popular choice for bathrooms due to their water-resistant properties. Ensure proper surface preparation and use appropriate sealants to protect against moisture.
5. What should I do if I encounter a problem during the tile installation process? If you encounter any issues or have concerns during the tile installation process, it’s recommended to seek guidance from a professional or consult reliable online resources for solutions.
Also Read this Article: Exploring the Different Types of Ceramic Tile